Gas-Powered Tiller Tune-Ups
Introduction
Welcome to Fire Appliance, your trusted resource for all things related to outdoor power equipment maintenance. In this guide, we will walk you through the process of tuning up and prepping your gas-powered tiller for springtime, ensuring optimal performance and longevity. Following the steps below will help you make the most out of your gardening season and keep your tiller running smoothly for years to come.
1. Safety First
Prior to starting any maintenance tasks, it's important to prioritize safety. Make sure to wear protective gear such as gloves and safety goggles. Additionally, always disconnect the spark plug wire to prevent accidental starts while working on your tiller.
2. Clean the Tiller
Begin by thoroughly cleaning your tiller. Remove any dirt, debris, or grass clippings that may have accumulated on and around the machine. Use a brush or a cloth to wipe off any residue from the tiller's exterior surfaces. This step ensures that no contaminants will interfere with the functioning of the tiller's components.
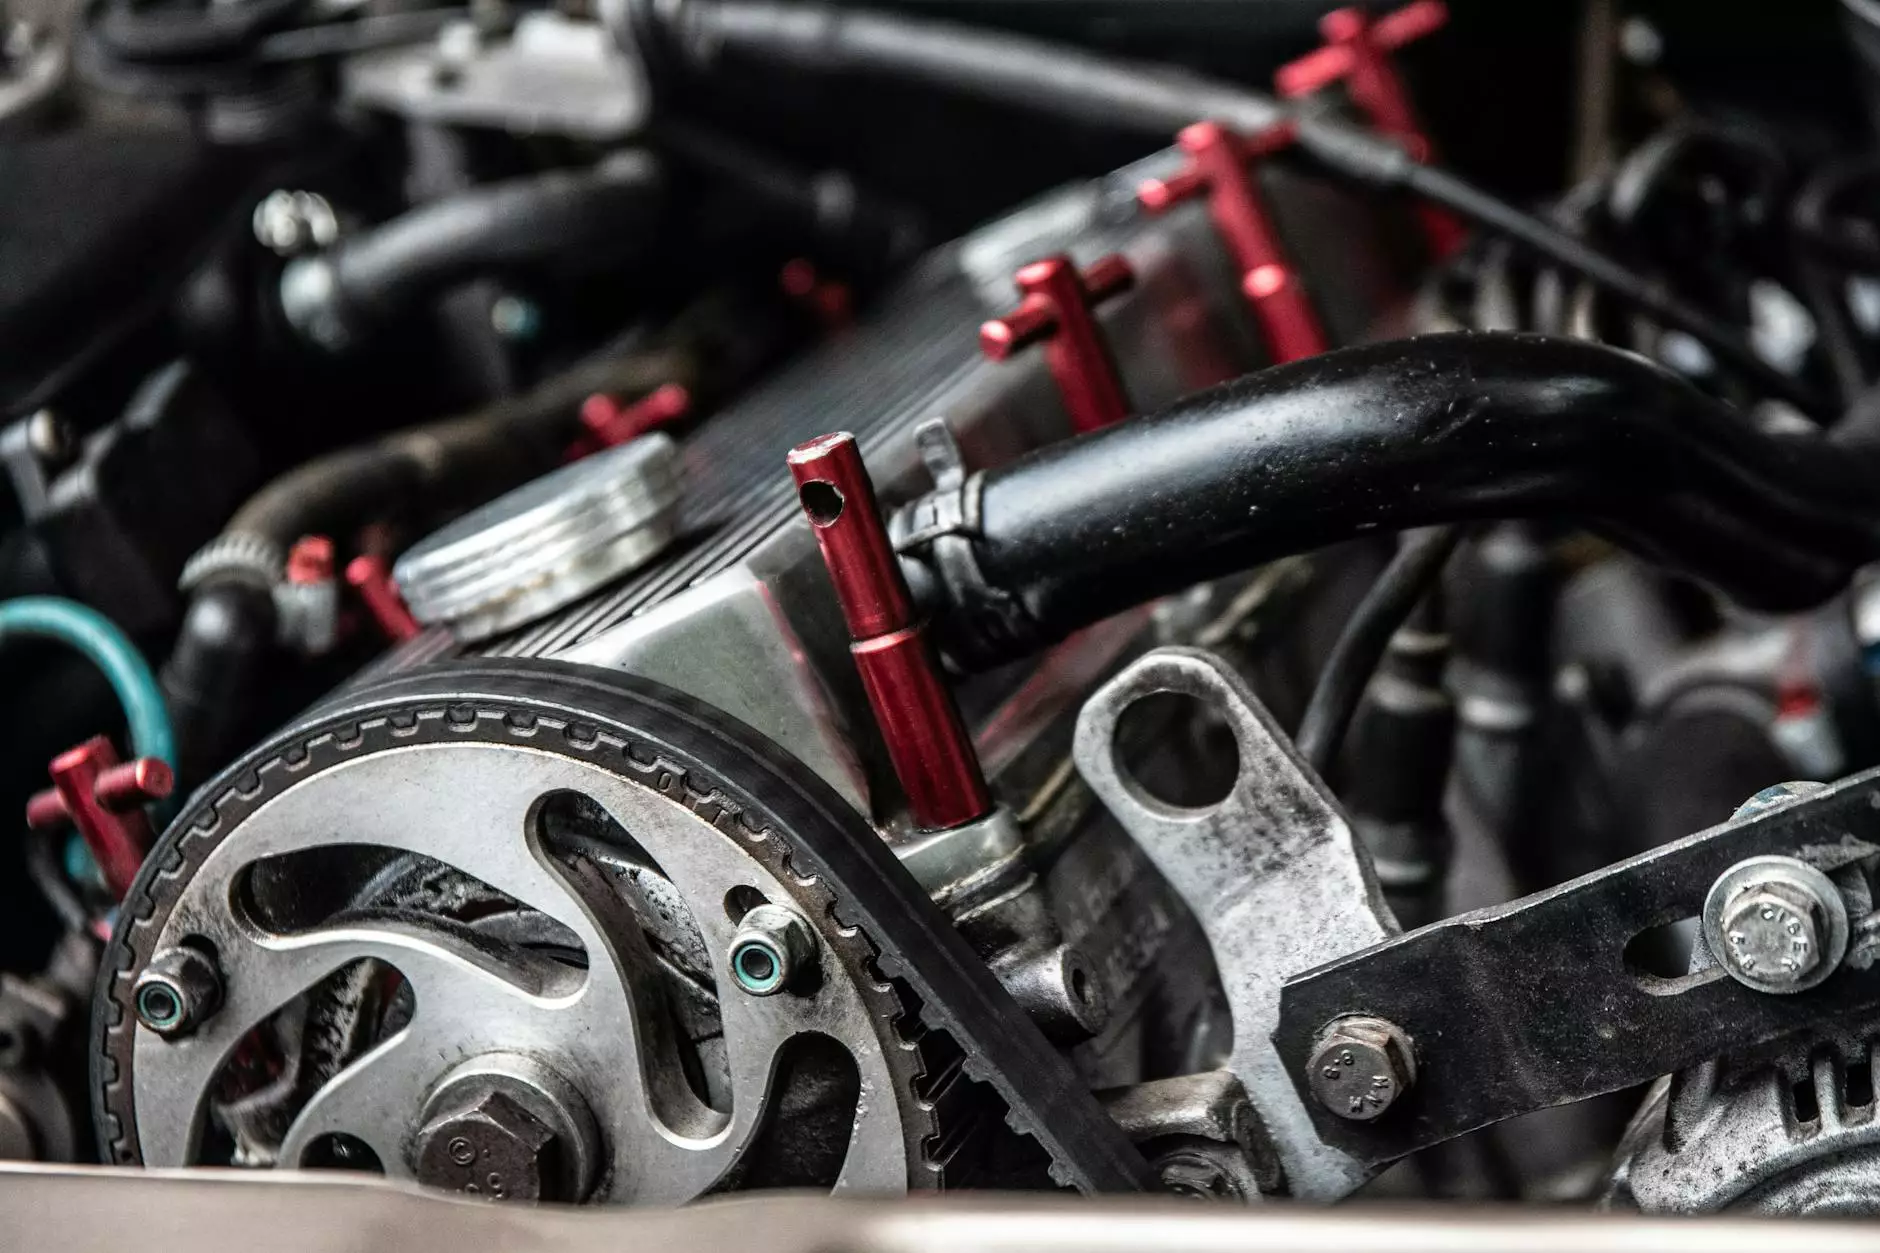
3. Check the Spark Plug
The spark plug plays a crucial role in igniting the fuel-air mixture within the engine. Over time, spark plugs can become fouled or worn out, leading to poor performance. Remove the spark plug and inspect it for signs of damage or excessive carbon deposits. If necessary, clean or replace the spark plug according to the manufacturer's guidelines.
4. Replace the Air Filter
An air filter that is clogged with dirt and debris can hinder the airflow to the engine, resulting in reduced power output. Check the condition of the air filter and replace it if it appears dirty or damaged. A clean air filter ensures optimal engine performance.
5. Change the Oil
Regular oil changes are crucial for maintaining the proper lubrication of the tiller's engine. Refer to your owner's manual for the specific oil type and recommended intervals. Drain the old oil, replace the oil filter if applicable, and refill the engine with fresh, high-quality oil. This step helps prolong the life of your tiller's engine.
6. Inspect and Lubricate Moving Parts
Inspect all moving parts of your tiller, paying close attention to the drive belt, pulleys, and gearbox. Inspect for wear, cracks, or signs of damage. Ensure all parts are properly lubricated according to the manufacturer's recommendations. Lubricating these components reduces friction and extends their lifespan.
7. Adjust Belt Tension
The tiller's drive belt should have the correct tension for optimal performance. Check the owner's manual for instructions on how to adjust the belt tension properly. Adjusting the belt tension ensures efficient power transfer and prevents slippage during operation.
8. Sharpen or Replace Blades
If your tiller is equipped with blades, it's important to keep them sharp and in good condition. Dull or damaged blades can lead to inadequate tilling and strain the engine. Inspect the blades and sharpen them if necessary. Replace any blades that are excessively worn or damaged.
9. Check Fuel System
The fuel system should be inspected to ensure proper functioning. Clean or replace the fuel filter, check fuel lines for cracks or leaks, and ensure the gas tank is free from debris. Additionally, use fresh fuel with the recommended fuel-to-oil ratio for your tiller.
Conclusion
Congratulations! You've successfully tuned up and prepped your gas-powered tiller for springtime. By following these comprehensive steps provided by Fire Appliance, you've created the foundation for a successful gardening season. Remember, regular maintenance is key to keeping your tiller in top condition. For further assistance or to explore our wide range of outdoor power equipment, visit Fire Appliance online.